Websites are a crucial part of today's business, whether it's a start-up or a personal portfolio. Read our detailed guide on how to create a website in 4 hours with solidpixels.
At the end, you will have a first version of the website, which you can return to at any time and gradually improve each section. Work on a website is never ending and there is always room for improvement, but even a simple website can fulfill its purpose and predefined goals. It will also help you to test what works cheaply and quickly and gradually improve the site based on experience.
Create a free trial site on solidpixels and you can get straight to work by following these four steps.
1. The structure of the site
Learn how to work with pages, create new ones or add menu items.
2. Prepare the content structure of the site
Prepare the content structure for each page of the website.
3. Start working on content
Follow the structure you've prepared to create content for your website.
4. Customize your web design
Customize the design to match the presentation of your company or project.
1. Create a website structure
Start with the basics and create a site structure. This will give you a clear idea of what information you will need and later create an outline for the content itself.
The most important component of the site structure is the main navigation. Keep it simple and don't add more than 7 items.
The basic information a visitor to your site should find is who you are, what you do, and how customers can contact you or use your services. Therefore, typical pages that you will find in various variations on almost every website are Homepage, Product, About Us and Contact.
Name the items concisely and to the point. Every visitor needs to be clear about what to expect on the page without clicking through.
How do you do that?
Create all the pages you want to have on the site in the administration. For simplicity, use the pages prepared in the template. If you need to add or edit a page:
In the administration, click on Overview in the top left, this will take you to the page overview,
click on the plus button next to Main Navigation and select Page from the menu,
name the new page,
if you want to edit the item, a gear icon will appear when you hover over the item,
click on it to open a window where you can set the
Create all the pages you want to have on the site in the administration. For simplicity, use the pages prepared in the template. If you need to add or edit a page:
in the administration, click on < Overview in the top left, this will take you to the site overview,
click on the plus button next to Main Navigation and select Page from the menu,
name the new page,
if you want to edit the item, a gear icon will appear when you hover over the item,
click on it to open a window where you can set the
To change the order, grab an item and drag it to the desired location.
When you hover over an item, you'll see a gear icon and a trash can icon on the right, which you can use to edit the item's name, delete it, or set it as the homepage.
2. Prepare the site structure
The next step is to lay out the elements on the page. Select just a few of the most important things and focus on those. Don't write specific text yet, it's just a matter of determining where and what will be on the page.
What is the purpose of each page of the site and how should I approach its creation?
Homepage of the website
The purpose of the homepage is to explain the main purpose of the website and to help visitors find the information they came to the website for.
Start the page with a headline that describes you or the purpose of the site and a short paragraph. After reading these, the visitor must understand who you are and what you do.
Give visitors a starting point for the main tasks they will perform when they visit your site. You can think of it as a signpost to direct visitors further.
For example, refer them to your products or to send a no-obligation enquiry. You can use a combination of an image, a short paragraph with a headline and a button to lead the visitor to the product page.
A clear presentation of the main purpose of the Terapie.cz website, which connects people seeking psychological help.
Product or service
A service or product page is designed to showcase your offering so that people understand what they can ask for and how they can get the item or service.
Start with an eye-catching headline, describing each type of product or service you offer in a short paragraph. Product pages are one important place to invite people to send a no-obligation enquiry or click through to a contact page. You can also mention pricing.
About us
Customers care about who you are and information about you helps increase your credibility.
Start with a compelling headline. State your motivation, important milestones in your company's history, introduce your team and its competencies, or showcase industry awards you've won. You can also include testimonials from your customers.
Contact
On this page you should see your address, email, phone number, opening hours, or links to the social media accounts you use. You can also add a map if clients can visit you in your office or perhaps your shop.
How do you do that?
Prepare the element layout directly in solidpixels. To speed up your work, use the pages prepared in the selected design. You can create the page from scratch yourself.
In solidpixels, you create content using individual blocks or entire sections that group related content into a single unit. They usually consist of several blocks. Section templates, in which you can choose patterns for content in different categories, help you create content better and faster. In the current version you will find more than 100 such pre-made sections, and we are gradually adding more. So you definitely have more to choose from.
To add a draft section:
- go to edit a specific page,
- select Sections in the upper left corner,
- a template library will appear, select the type of template you are looking for,
- drag and drop into the page space to insert the section.
You can also edit and add individual blocks:
- go to edit a specific page,
- select the blocks in the toggle at the top left,
- move the selected block to the middle of the page.
When inserting blocks into the page, guide lines will appear around previously created blocks; to create a column, drag the block to the vertical line, to create a row, drag the block to the horizontal guide line. You can also use the guide lines to resize individual elements, just drag to move the guide line.
3. Start working on web content
Now it's time for the actual text, photos, videos, ... Keep it simple, a short paragraph and a concise headline is more than long texts that no one will read. Always choose only the most important points and expand on them in a few sentences.
Use inter-headings, highlighting important phrases in bold.
Work with what you have. If you lack your own photos, you can use photo banks. For example, you can find lots of free and commercial photos at unsplash.com.

Tip: Enhance your website's content with ChatGPT!
Start by inputting a topic or question into ChatGPT. It can generate informative, engaging text, from blog posts to product descriptions.
4. Customize the site design
Finally, work on customizing the look and feel of the site. In the design settings, adjust the typography, fonts, and colors for all elements of the site to fit your needs.
The design settings are shared for the entire site. This means that the selected header size will be the same across the entire site to maintain a consistent look and feel for the same elements. Shared settings also make your job easier. If you decide to change the settings, the change will be reflected across the entire site.
Set the typography
Choose up to two different fonts to work with on your website. If you can't decide, take inspiration from one of our tried and tested combinations.
To set the typography:
- in the main navigation, go to the Design tab,
- under the Typography tab you will find font settings for text and headings.
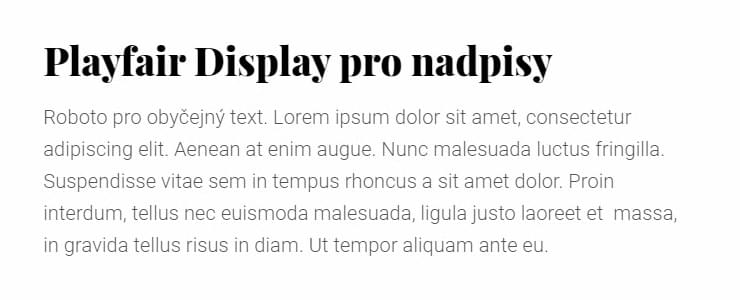
Playfair Display for headings and Roboro for plain text.
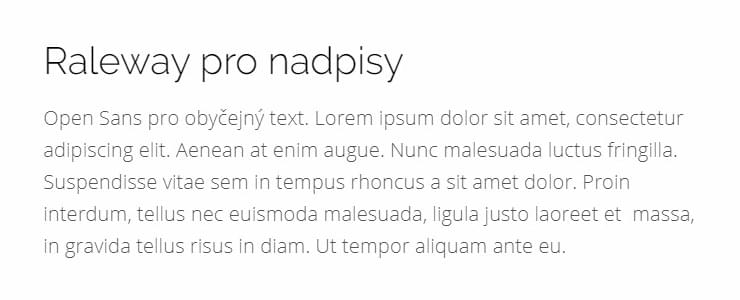
Raleway for headings and Open Sans for plain text.

Work Sans for headings and Roboto for plain text.
Tip: How to combine different font styles correctly? Read the article 12 trending Google fonts combinations that will make your website stand out from the crowd.
Adjust the colours
Decide on three colours to work with on the site. If you don't have your colours determined you can use the coolors.co colour scheme generator for inspiration.
Think about making sure that the background and font colours are contrasting enough. This is important for good readability of the site.
To edit the colours on your website:
- go to the Design tab,
- you can change the color settings when editing:
- header colors and font colors in menu → Header settings,
- background colors of the whole site → Page settings,
- Font colours → Typography settings,
- footer colours → Footer settings.
To customize the background of each section of your site:
- hover the cursor over the section for which you want to change the background,
- the controls for the section will appear, click on the cog wheel,
- this will take you to the section settings, select the background colour.
Add logo
Another opportunity to connect your website to your brand is to add your own logo. If you don't have a logo, you can choose a text-based option or have a logo generated. You'll often get better designs than those from cheap graphic designers: looka.com.
How to upload a logo?
- Open any page of your website and click on the logo,
- select between the image and the text,
- upload your logo.
Your website is ready to publish
Congratulations! The first version of your website is live. All the edits you make to the site are automatically saved. To make your changes visible to others you need to publish the website:
- go to any page,
- in the top right corner you will find the Publish button,
- this will publish all the changes.
You can return to the site at any time and edit the information so that it is always up to date and contains all the information your customers are looking for.
Now the last step is to publish the site on your own domain.
More inspiration for the best websites

Complete tutorial: a great introduction of services on the web
Learn to present your services on the web in a way that converts visitors into customers and presents you as respected experts.

Complete instructions for a great product presentation on the web
Do you want to present your products on the web in a way that evokes emotions, creating a strong connection with people? Find out how to do it.
10 tips for faster work in solidpixels
You know that feeling when you discover a great gadget that saves you a lot of work and that you can't imagine your life without a month later? Well, today we're going to show you exactly ten of them. What are you going to do with all that free time?