Typography is a key visual element of web design. In solidpixels you can choose from a wide range of fonts thanks to the integration of Google Fonts. In addition to our selection, you can easily choose other fonts yourself or directly add a font of your own from any author.
This feature is available as part of the solidpixels Ambassador Programme.
Adding a font from Google Fonts
Fonts can be added in the Design tab under Typography settings. Whether you are setting the typography for general text or headings, the first option in the selection is always "Manage Fonts".
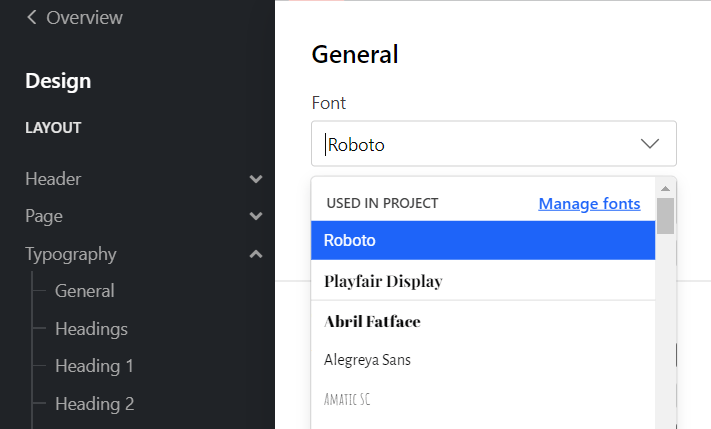
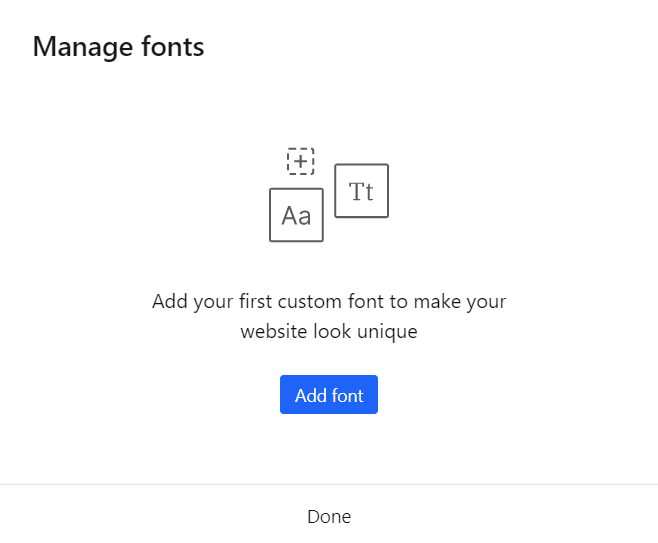
Clicking on this link will open the font management window. Here you can see and edit any fonts you have already added, as well as the "Add Font" button.
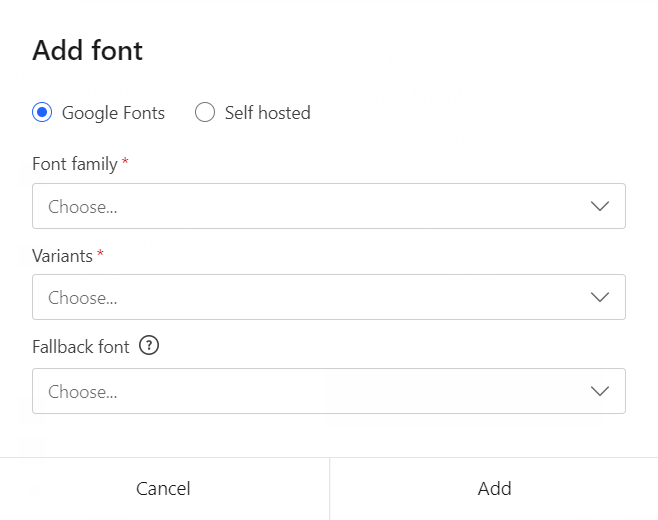
After that, adding the font is easy. Just check the "Google Fonts" option, and select the font and all the variations you want to use. You also need to select a fallback font that will appear in case the default font can't be loaded.
Adding a custom font
You can add your own font in a similar way to the Google Fonts selection. Just check the "Self hosted" option in the font selection.
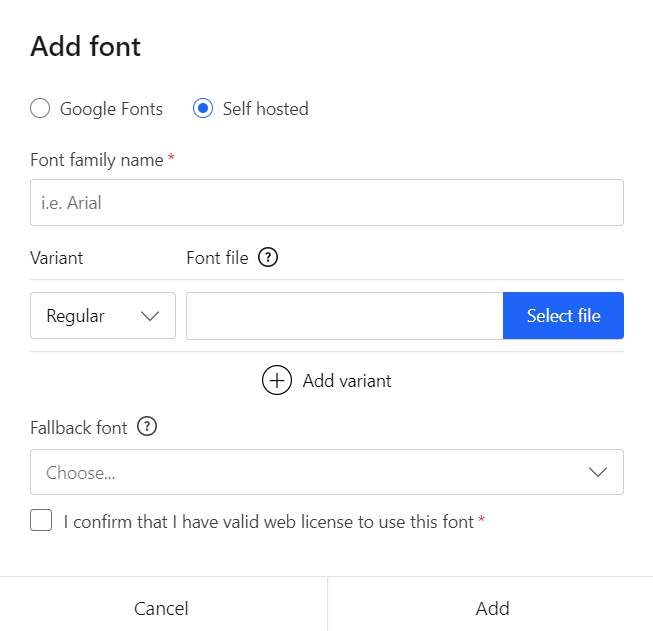
Next, you need to enter the font name and select the font file. The files must be in WOFF or WOFF2 format. Unlike Google Fonts, the variants need to be uploaded individually. For example, if you want a Regular and a Bold variants, you need to upload two files, each with said font variation, and assign them a variant name.
To use a hosted font, it is also important to have a valid license to use that font on the site.
All fonts will automatically appear in the font selection in the design settings when added.

Tip: How to combine different font styles correctly?Read the article 12 trending Google fonts combinations that will make your website stand out from the crowd.
Help topics
Getting started with solidpixels
Advance blocks
Design
Website Settings
Function
Account and payments